How to Set Up a CDN for WordPress: A Step-by-Step Guide for 2025

Introduction to CDNs for WordPress Sites
If you’re running a WordPress website, you’ve likely noticed that speed can make or break your user experience. Slow load times can drive visitors away and hurt your SEO rankings. A Content Delivery Network (CDN) can help by caching your site’s content on servers worldwide, delivering it faster to users no matter where they are. But how do you set up a CDN for WordPress, especially if you’re not a tech expert? In this detailed guide, we’ll walk you through the process step by step, ensuring your site loads faster and performs better.
This article is tailored for WordPress users—whether you’re a blogger, small business owner, or e-commerce store manager—looking to improve site speed. We’ll also recommend a trusted CDN, Bunny.net, with an affiliate link for you to explore their services. Let’s get started!
Why Use a CDN for Your WordPress Site?
A CDN stores copies of your website’s static files (like images, CSS, and JavaScript) on servers across the globe. When a visitor accesses your site, the CDN delivers these files from the nearest server, reducing latency. Here’s why a CDN is a game-changer for WordPress sites:
- Faster Load Times: CDNs can cut your site’s load time significantly, improving user experience.
- Better SEO Rankings: Google prioritizes fast websites, especially with Core Web Vitals as a ranking factor in 2025.
- Reduced Server Load: By offloading traffic to the CDN, your WordPress hosting server faces less strain.
- Global Reach: A CDN ensures fast load times for users worldwide, which is crucial if your audience is international.
- Enhanced Security: Many CDNs offer DDoS protection and free SSL certificates.
For WordPress sites, which often rely on heavy themes, plugins, and media files, a CDN can make a noticeable difference in performance.
Choosing the Right CDN for WordPress
Before setting up a CDN, you need to pick one that suits your WordPress site. Here are some factors to consider:
- WordPress Compatibility: The CDN should integrate easily with WordPress, ideally with a plugin.
- Performance: Look for a CDN with a global network of servers for optimal speed.
- Pricing: As a WordPress user, you might be on a budget—choose a CDN with affordable or pay-as-you-go pricing.
- Support: Reliable customer support is key for troubleshooting setup issues.
- Features: Look for extras like image optimization, caching, and security features.
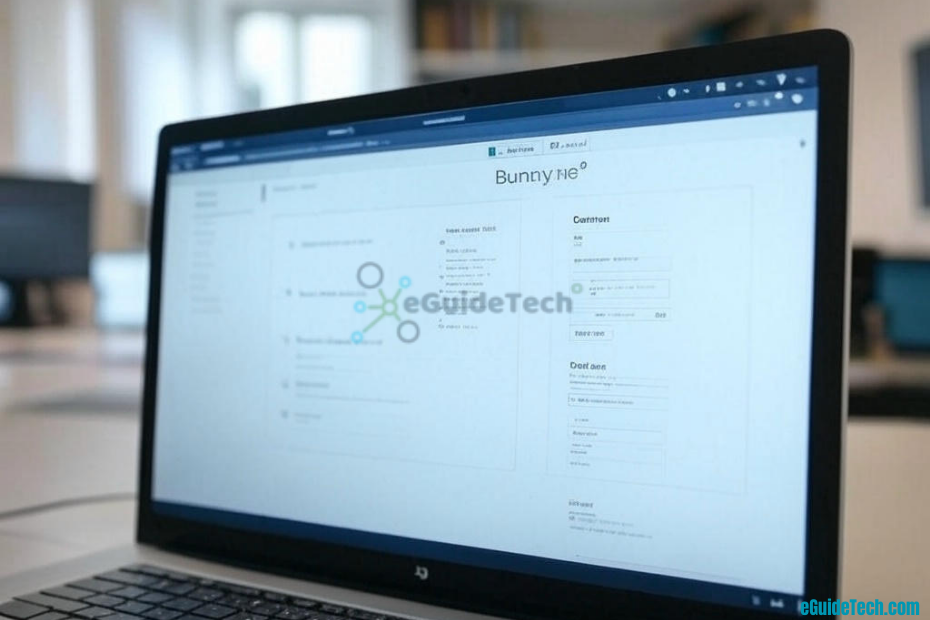
For this guide, we’ll use Bunny.net as our example CDN because of its simplicity, affordability, and WordPress compatibility. You can try Bunny.net through this link to get started. (Note: This is an affiliate link, and we may earn a commission at no extra cost to you.)
Step-by-Step Guide: How to Set Up a CDN for WordPress
Let’s walk through the process of setting up a CDN for your WordPress site. We’ll use Bunny.net, but the steps are similar for other CDNs like Cloudflare or KeyCDN.
Step 1: Sign Up for a CDN Service
- Visit the Bunny.net website via this link.
- Sign up for an account by providing your email and creating a password.
- Verify your email address to activate your account.
- Add a billing method—Bunny.net operates on a pay-as-you-go model, starting at $0.01/GB, with a minimum of $1/month.
Step 2: Create a Pull Zone
A “Pull Zone” tells Bunny.net which content to cache from your WordPress site.
- Log in to your Bunny.net dashboard.
- Click “Pull Zones” in the sidebar, then select “Add Pull Zone.”
- Enter your WordPress site’s URL (e.g.,
https://yourdomain.com) as the “Origin URL.” - Choose the server locations (e.g., North America, Europe, Asia) based on where your audience is located.
- Save the Pull Zone. Bunny.net will provide a unique CDN URL (e.g.,
yourdomain.bunnycdn.com).
Step 3: Install a CDN Enabler Plugin on WordPress
To integrate the CDN with WordPress, you’ll need a plugin to rewrite your site’s URLs to use the CDN.
- Log in to your WordPress dashboard.
- Go to Plugins > Add New, and search for “BunnyCDN” or “CDN Enabler.”
- Install and activate the BunnyCDN plugin (or a general CDN plugin like CDN Enabler if you’re using another CDN).
- Go to the plugin’s settings and enter your Bunny.net Pull Zone URL (e.g.,
yourdomain.bunnycdn.com). - Save the settings. The plugin will automatically rewrite your static file URLs to use the CDN.
Step 4: Configure CDN Settings
Bunny.net offers settings to optimize performance for WordPress:
- In the Bunny.net dashboard, go to your Pull Zone settings.
- Enable SmartEdge Optimization to automatically compress images and minify files.
- Turn on HTTPS to ensure secure connections (Bunny.net provides free SSL).
- Set caching rules—cache static files for at least 24 hours to reduce load on your server.
- Save your changes.
Step 5: Test Your Setup
- Clear your WordPress site’s cache if you’re using a caching plugin like WP Rocket or W3 Total Cache.
- Open your website in a browser (preferably in incognito mode).
- Right-click and select “Inspect,” then go to the “Network” tab.
- Reload the page and check if your static files (e.g., images, CSS) are being served from the Bunny.net CDN URL.
- Use a tool like Google PageSpeed Insights to measure your site’s speed before and after the CDN setup.
Step 6: Monitor Performance and Costs
- Use Bunny.net’s dashboard to track bandwidth usage and ensure you’re staying within budget.
- Monitor your site’s performance over the next few days to confirm the CDN is working as expected.
Troubleshooting Common CDN Setup Issues on WordPress
If you run into problems, here are some common issues and fixes:
- Files Not Loading from the CDN: Double-check that your Pull Zone URL is correctly entered in the WordPress plugin settings. Also, ensure your WordPress site’s URLs are using
https://if your CDN is set to HTTPS. - Mixed Content Warnings: If you see warnings about mixed content, ensure all your WordPress settings (under Settings > General) use
https://. You can also use a plugin like Really Simple SSL to fix this. - Slow Load Times: If your site is still slow, verify that your caching plugin isn’t conflicting with the CDN. Clear all caches and retest.
- Bing Crawling Issues: If Bing isn’t crawling your site (as per your earlier query), ensure your
robots.txtfile doesn’t blockBingbot, and there’s nonoindexmeta tag on your pages. Submit your sitemap to Bing Webmaster Tools and request indexing.
Optimizing Your WordPress Site for Maximum CDN Benefits
To get the most out of your CDN, follow these best practices:
- Use a Caching Plugin: Pair your CDN with a plugin like WP Rocket to cache dynamic content and further reduce load times.
- Optimize Images: Use a plugin like Smush or ShortPixel to compress images before they’re served via the CDN.
- Minify CSS/JS: Minify your site’s CSS and JavaScript files to reduce file sizes—many CDNs, including Bunny.net, offer this feature.
- Enable GZIP Compression: Ensure your WordPress hosting and CDN both support GZIP compression for faster data transfer.
- Monitor Core Web Vitals: Use Google Search Console to track your site’s Core Web Vitals and ensure the CDN is improving metrics like Largest Contentful Paint (LCP).
Why Bunny.net is a Great Choice for WordPress Users
Bunny.net stands out for WordPress users due to its simplicity and affordability:
- Affordable Pricing: At $0.01/GB, it’s budget-friendly for small WordPress sites.
- Global Network: With 50+ data centers, Bunny.net ensures fast delivery worldwide.
- WordPress Integration: The BunnyCDN plugin makes setup a breeze.
- Security Features: Free SSL and DDoS protection keep your site safe.
Ready to try Bunny.net? Sign up using this affiliate link to get started. (Note: This is an affiliate link, and we may earn a commission at no extra cost to you.)
How a CDN Impacts WordPress SEO
A CDN directly improves your WordPress site’s SEO by:
- Reducing Load Times: Faster sites rank better on Google, especially with Core Web Vitals as a ranking factor.
- Lowering Bounce Rates: Users are more likely to stay on a fast-loading site, signaling quality to search engines.
- Improving User Experience: A better experience leads to higher engagement, which can boost your rankings.
In a 2024 study by Backlinko, pages that load in under 2 seconds had a 9.6% lower bounce rate compared to those taking 5 seconds. A CDN can help you achieve those speeds, giving your WordPress site a competitive edge.
Conclusion: Speed Up Your WordPress Site with a CDN
Setting up a CDN for your WordPress site is a straightforward way to boost speed, improve user experience, and enhance your SEO rankings. By following the steps in this guide, you can integrate a CDN like Bunny.net in under 30 minutes, even if you’re a beginner. The result? A faster, more reliable WordPress site that keeps visitors coming back.
Ready to get started? Try Bunny.net today with this affiliate link and see the difference a CDN can make. (Note: This is an affiliate link.)
Have questions about setting up a CDN for WordPress? Drop a comment below, and we’ll help you out!
FAQs for How to Set Up a CDN for WordPress
How do I set up a CDN for WordPress?
Follow the steps in this guide: sign up for a CDN like Bunny.net, create a Pull Zone, install a CDN plugin on WordPress, configure settings, and test your setup.
Does a CDN improve WordPress site speed?
Yes! A CDN reduces latency by serving content from servers closer to your users, significantly improving load times.
Is Bunny.net good for WordPress?
Absolutely. Bunny.net is affordable, easy to set up, and offers a dedicated WordPress plugin, making it a great choice for WordPress users.